
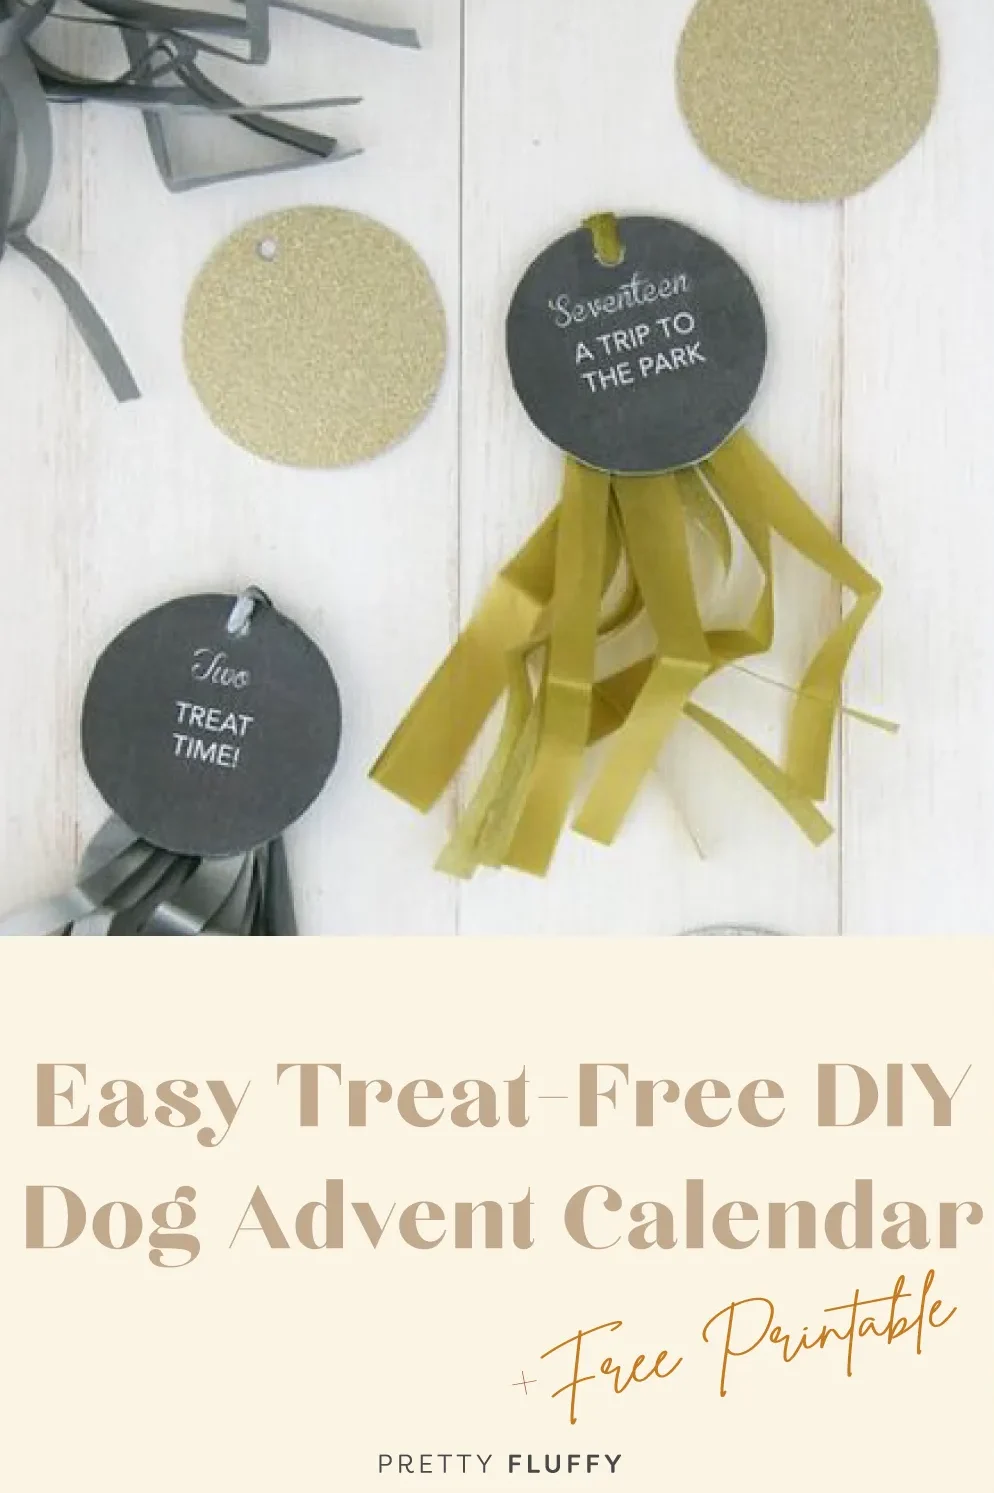
How To Make Your Own Dog Advent Calendar

Make your canine Christmas countdown twice as fun!
The anticipation of a daily surprise is one of the best parts of the festive season, and that joy shouldn’t be reserved just for humans. Creating a diy dog advent calendar is a sweet way to include your pup in the holiday magic.
This “2-in-1” project uses sparkly cards that double as chic ornaments for your Christmas tree. It gives you festive decor and a meaningful daily bonding activity all in one simple package.
RELATED: 5 Easy & Delicious Dog Treat Recipes for Christmas

What You Need For a DIY Advent Calendar
You do not need to be a professional crafter to pull this off. The beauty of this project lies in its simplicity. We used silver and gold to give it a classic, sparkling holiday feel, but you should choose whatever colors match your home decor.
Here is the list of materials to gather before you start:
- Printable Calendar Template: You will need numbers 1 through 24. You can download a free template or simply print numbers on card stock using your home printer.
- 4 Sheets of A4 Card Stock: This is for printing the number circles.
- 4 Sheets of Glitter Cardboard: This creates the sturdy, sparkly backing for your ornaments. One large sheet works too if you cut it down.
- 3 Sheets of Tissue Paper: You will need these to make the decorative fringing (tassels).
- Scissors: Essential for cutting the intricate fringe.
- Hole Punch: To create the hanging point.
- Glue: A standard craft glue stick or liquid glue works fine.
- Ribbon, Twine, or Ornament Hooks: For hanging the finished pieces on the tree.

Instructions
Making these ornaments is a relaxing way to spend an afternoon. Put on some holiday music and enjoy the process.
1. Prepare the Numbers
Start by printing your diy dog advent calendar numbers onto the plain card stock. Carefully cut out each numbered circle. These will be the front face of your ornaments, so try to keep the edges smooth.
2. Add the Sparkle
Take your glitter cardboard sheets. Glue each white numbered circle face-up onto the glitter side. Press them down firmly to ensure they stick. Once the glue is dry, cut around the circles. Now you have twenty-four sturdy ornaments with a glittering background.
3. Punch the Holes
Use your hole punch to make one hole near the top of each circle. This is where your ribbon and the decorative fringe will attach.
4. Create the Tissue Fringing
This step gives the ornaments their professional, festive flair. Take one sheet of tissue paper. Fold it once lengthwise. Then, fold it once widthwise. Finally, fold it widthwise again.
5. Cut the Fringe
Grab your scissors. Cut into the folded tissue paper to create the fringe strips. Make your cuts about 1cm apart.
* Crucial detail: Leave about 2 inches of paper uncut near the top fold. Do not cut all the way through, or the tassel will fall apart.


6. Assemble the Tassels
Unfold your tissue paper sheet completely. It will look like a long sheet with fringes on both ends. Cut the sheet once widthwise to separate it. Now, roll each piece of fringing up tightly. Twist the paper in the middle section, then cut it in half. Each single sheet of tissue paper typically yields about 8 individual tassels.
7. Attach and Hang
Take your little tissue tassel and thread it through the hole you punched in the ornament. Affix the end with a tiny dab of glue or a piece of double-sided tape to keep it secure. Repeat this for all twenty-four days. Finally, attach your ribbon, twine, or hook. Your ornaments are now ready to hang on the Christmas tree!

DIY Dog Treat For Your Advent Calendar
This calendar focuses on shared experiences rather than just food. The idea is to search the Christmas tree each day starting December 1st. You find the corresponding number and discover a fun activity to do together.
However, one of the most popular activity cards in this calendar is “Treat Time!”.
When you flip that card (or check your daily plan), you need a special reward ready. Store-bought snacks are convenient, but making your own ensures they are healthy and free from nasties. You are already in a crafting mood, so baking a batch of simple cookies is a great addition to your calendar routine.
Here is a simple, vet-approved recipe perfect for that “Treat Time” activity card.
Peanut Butter Pumpkin Stars
These treats are shelf-stable and crunchy, making them perfect to keep in a jar next to your advent tree.
Ingredients:
- 2 ½ cups of whole wheat flour (or oat flour).
- 2 large eggs.
- ½ cup of canned pumpkin puree (pure pumpkin, not pie filling).
- 2 tablespoons of peanut butter.
- A pinch of cinnamon (optional).
* Safety Check:
Always check your peanut butter label. It must be natural and Xylitol-free. Xylitol (birch sugar) is toxic to dogs.
Baking Steps:
- Preheat: Set your oven to 350°F (175°C) and line a baking sheet with parchment paper.
- Mix: Combine flour, eggs, pumpkin, and peanut butter in a bowl. Mix until a stiff dough forms. Add a drop of water if it is too dry.
- Cut: Roll the dough out on a floured surface to about ¼ inch thick. Use a small star cutter to match your festive theme.
- Bake: Place them on the sheet and bake for 20 to 25 minutes until golden.
- Dry: Turn off the oven but leave the treats inside for another 30 minutes. This drying step makes them extra crunchy and helps them last longer.
How to Use the Calendar
The beauty of this system is the variety. Some days, the activity might be “A Trip to the Park.” Other days, it might be “10 Minutes of Cuddles” or “New Toy Day.”
When you pull the “Treat Time” card, present one of your homemade Pumpkin Stars. It makes that specific day feel like a real celebration.
This 2-in-1 calendar is versatile. It decorates your home and strengthens the bond with your dog. It reminds us that the best gift we can give our pets is our time and attention.
Enjoy the countdown!
Looking for fun and simple homemade dog treat recipes?
 Check out our eBook 52 Weeks of Treats – Simple & Healthy Dog Treat Recipes for Every Season.
Now in it’s 2nd edition, 52 Weeks of Treats has over 30 healthy DIY dog treat recipes – including everything from summer ‘Blueberry Pupsicles’ to hearty winter ‘Beef Bites’.
With a handy allergies guide, quick references for grain and dairy free recipes AND a whole section just for special occasions (doggie birthday cake anyone?) 52 Weeks of Treats is the ultimate dog treat recipe book!

Pretty Fluffy is the ultimate lifestyle destination for dog lovers. Discover the best designer dog brands and emerging small pet businesses, the latest dog accessories, healthy dog treat recipes, dog training tips and more. Thank you for being part of our dog-loving community!

Pet lifestyle expert Serena Faber-Nelson is the founder of Pretty Fluffy. A contributor to Everyday with Rachael Ray, Modern Dog Magazine, Cesars Way and more; her modern, stylized take on DIY dog treats has seen her recipes viewed millions of times over.
Serena is the author of the go-to dog mom bible, Dog Mama, and the popular dog treat recipe book, Healthy Homemade Dog Treats.

Fluffy Editorial is our in-house team of writers and dog nerds. We research every topic carefully, talk to professionals when needed, and focus on sharing honest advice we’d follow with our own dogs.


-
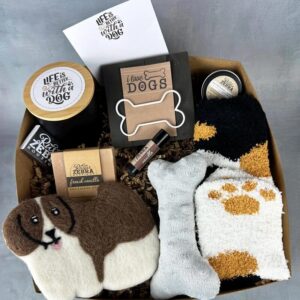
 Dog Mom Gift Basket
The perfect Valentine's Day gift for a dog mom!
-
Ruffwear Sunshower Dog Rain Jacket
Your pet's perfect company for the days that pours cats and dogs!


-
Dog Mom Gift Basket
The perfect Valentine's Day gift for a dog mom!
-
Ruffwear Sunshower Dog Rain Jacket
Your pet's perfect company for the days that pours cats and dogs!
Super cute Serena! Thanks for the inspiration – now to get my tree out of storage!
Such a cute idea!! 🙂 I like the idea of an Advent Calendar being about activities and memories instead of food and presents. My dog will love it!!
Hello,Just found your blog and love it. I am always lonikog out for new activities and toys for my 10 month old that aren’t just ‘plastic’ and provide new stimulation. I liked the pictures of your treasure baskets, we too have loads of those.You might like my brother in laws blog (abcdoes.com) he is an early years consultant and has some great ideas – that is where I get most of my inspiration,Thanks and I will keep following!Nelly x