
How to Make a DIY Dog Bow Tie (No-Sew!)

Get your fur baby fancy in no time at all.
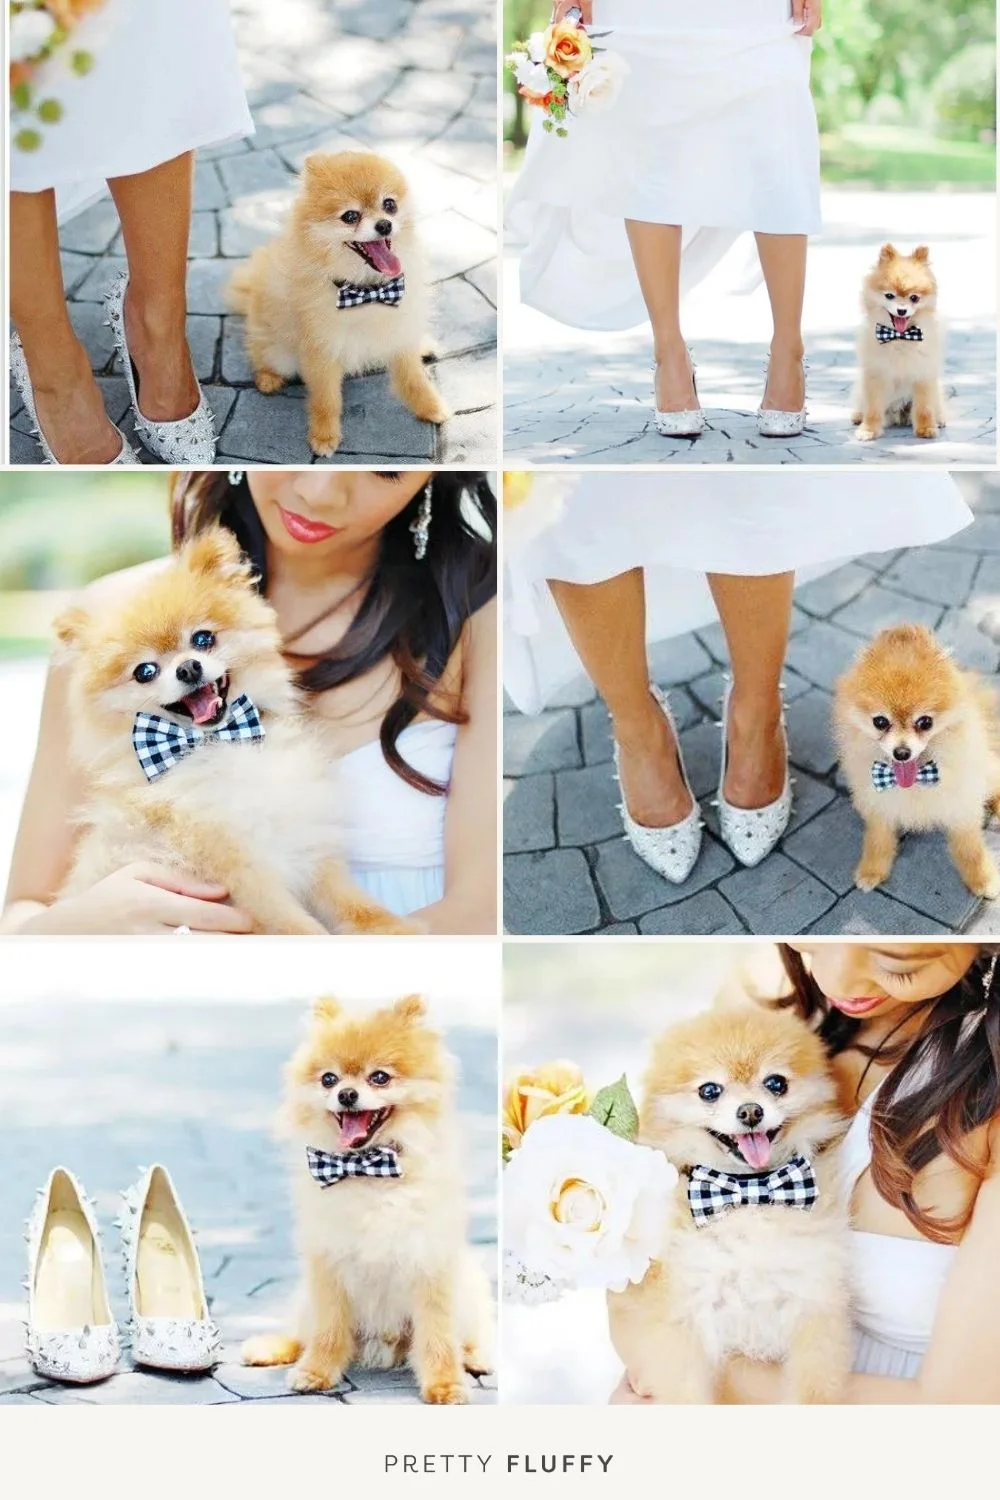
Knowing how to make a dog bow tie is easier than you think, and here’s the proof!
Whether you have an upcoming dog-friendly wedding, or want your pup looking extra dapper for a special occasion – a DIY dog bow tie is the easiest and adorable accessory to have on hand.
And when we say these dog bow ties are simple to make, we mean it – we’re talking no sewing required. Which is great for us, seeing as we’re sewing impaired!

Ready to fancy up your furry best friend? Here’s how to make your own no-sew dog bow tie in minutes.
RELATED: How to Make a DIY Dog Birthday Crown

DIY: How to Make a Dog Bow Tie
You’ll Need:
– Fabric scissors
– Your choice of fabric (I used a simple check pattern)
– Thick velvet ribbon (or ribbon of your choice)
– Velcro squares with adhesive backing
Prepping Tips:
* Measure your dog’s neck or collar size and trim the ribbon accordingly.
* Make sure it isn’t too small – you want to make sure your pup is comfortable on the big day!

How to Make a dog bow tie
1. Cut your fabric to approximately 4×9 inches. This is a pretty standard size for the bow tie, but if you are making this for a large breed dog, I’d beef up the size.
2. Fold in the top and bottom sides and overlap them slightly.
3. Fold in the left and right sides. You can choose how much you want to overlap based on the desired size of your dog bow tie.
4. Cut a skinny strip of fabric approximately 2×5 inches or longer. It just needs to be long enough to tie (this will be trimmed toward the end).
5. Pinch the center of the folded ribbon with your fingers to create the bow shape.
6. Use your skinny piece of fabric to tie around the center of the bow. Make sure the knot is tight and secure. If you feel unsure, you can always add a dot of hot glue. Trim the excess fabric.
7. Grab your pre-trimmed ribbon and velcro squares. Add a velcro square (the one with the scratchy side) to the center and to the far right end of the ribbon. On the left end of the ribbon, add a fuzzy velcro square to the back side. Using another fuzzy velcro square, add one to the back of the bow.
8. Stick the bow to the center of the ribbon. Attach the ends together and you have a stunning bow-tie that will make your dog feel stylish and ready to party!


Have fun and enjoy creating these DIY dog bow-ties, sans needle and thread!
And no worries if you aren’t a bride-to-be, this DIY is perfect for any festive occasion, or if your pup just wants to look fancy on a Wednesday.
*Please note these DIY dog bow ties are intended as a fun accessory and are not recommended to be used with a leash as a collar replacement. For a durable bow-tie dog collar check out the Apparel & Accessories section of our Dog Lovers Directory.
Before you go…!
Check out our other dog DIY projects:

Pretty Fluffy is the ultimate lifestyle destination for dog lovers. Discover the best designer dog brands and emerging small pet businesses, the latest dog accessories, healthy dog treat recipes, dog training tips and more. Thank you for being part of our dog-loving community!

Sarah is a designer, photographer, pet lifestyle expert, health & animal advocate, wife, and devoted dog mom (humble servant) to her loving Shih Tzu, Coco Bean.
Since joining the Pretty Fluffy team in 2012, Sarah writes feature articles on dog treat recipes, dog DIYs, dog lifestyle tips and designed the “52 Weeks of Treats,” and “Frozen” eBooks, authored by Pretty Fluffy founder Serena Faber Nelson.


-
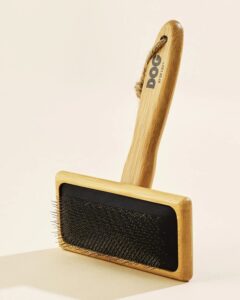
 DOG By Dr Lisa Dog Brush
lovely everyday brush for dog parents who want something gentle and easy to use.

-
DOG By Dr Lisa Dog Brush
lovely everyday brush for dog parents who want something gentle and easy to use.
Amazing! My dog Bailey will look so handsome!
Thanks, Everyone!! We had so much fun during the shoot and the DIY. Have fun making your little one’s bow-ties – I’d love to see photos! xx
How adorable! Love the shoes too.
x
Michelle
http://www.michellesstylefile.blogspot.com
<3 the Louboutins… and the bow ties 🙂
It’s the perfect combination! x
This is so adorable! I need to make one of these for Mamma Biscuit, give her a very androgenous/Tilda Swinton look but I’ll have to bedazzle/dimple a spike on either side of that bow tie to give it an East Village punk vibe! Love it!
xoxo
Mamma Biscuit!
Oh please do!! Mamma would rock that look xxx
Love this DIY project!
Can’t wait to see Kirby in one! x
I LOVE this – cuteness overload!
Thanks Andrea – gorgeous puppy + beautiful photos is a great combination.
Super cute!
Thanks Beth – isn’t Sarah super talented!!